Virtualization has become a cornerstone of modern IT infrastructure, providing unparalleled flexibility, resource optimization, and scalability. In this guide, I will walk through the process of deploying a Ubuntu Virtual Machine (VM) on the popular ESXi hypervisor. This step-by-step guide ensures that even those new to virtualization can successfully set up and configure their Ubuntu VM for optimal performance.
Understanding ESXi and vCenter
ESXi: The Hypervisor
ESXi, developed by VMware, serves as a powerful hypervisor that enables the creation and management of virtual machines. It forms the foundation for virtualization, allowing multiple VMs to run on a single physical host/Server.
vCenter: Managing Virtualized Environments
vCenter complements ESXi by providing centralized management for multiple ESXi hosts. It simplifies tasks such as resource allocation, monitoring, and VM deployment across a cluster of ESXi hosts.
Step 1 – Downloading the Ubuntu ISO
Go to https://ubuntu.com/download/server and download the version you want to install
Step 2 – Uploading the ISO
Login to the ESXi host https://esxi-ip
Go to Storage -> Datastore Browser


Create a new Director called ISO and upload the ISO inside this Directory
Step 3 – Create VM
Go to the Virtual Machines tab and click on Create / Register VM
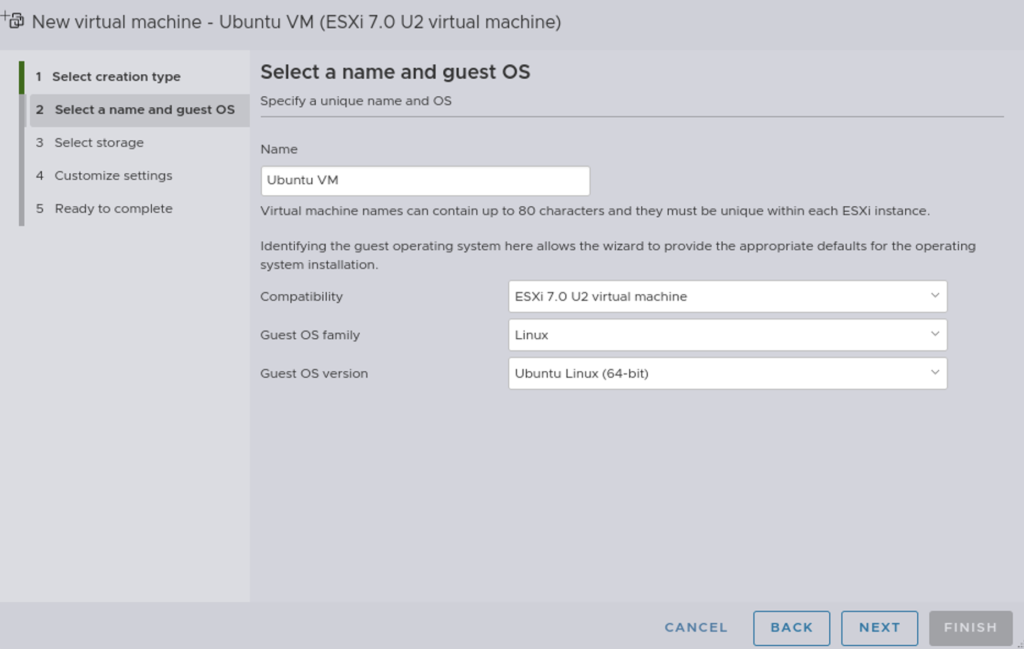
Click Next – Select your Datastore
I am allocating 2CPU, 2GB Memory with 35GB Hard Disk.
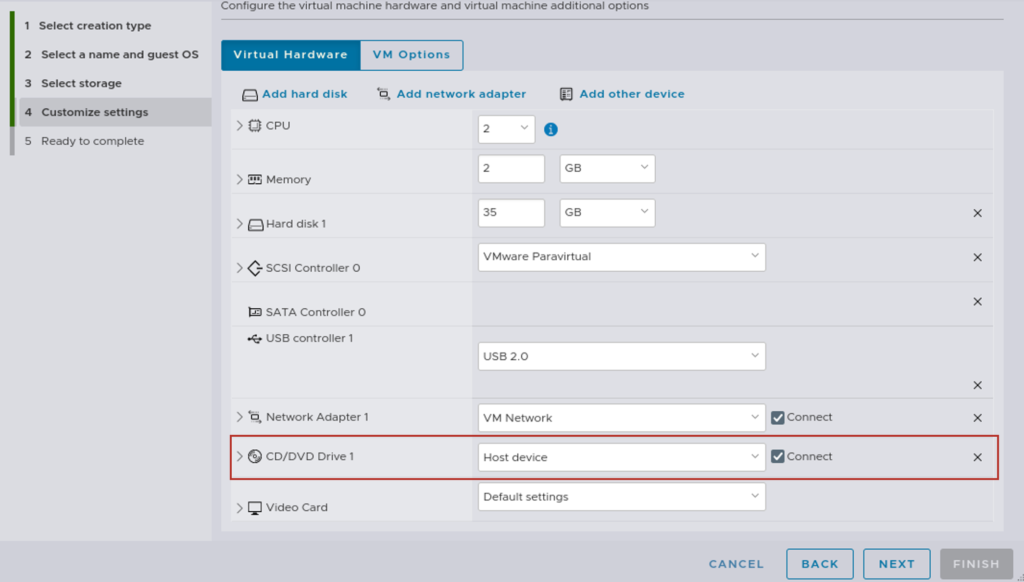
Click on CD/DVD Drive – > Select Datastore and choose the ISO we uploaded in Step 3. Finish
Step 4 – Install Ubuntu
Power on the VM that we created.
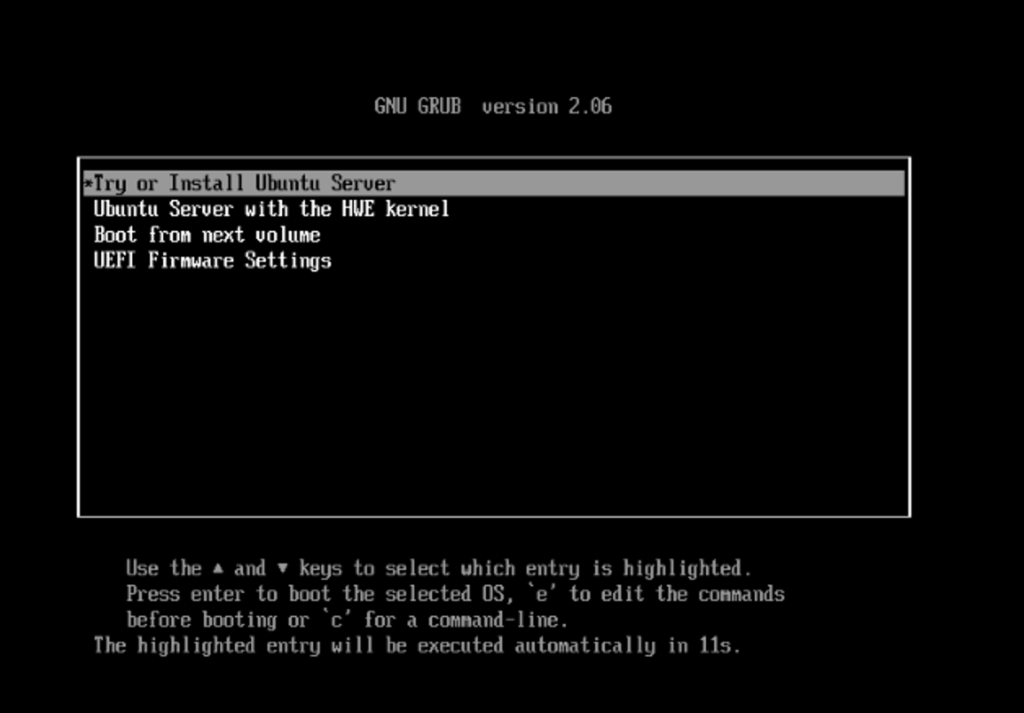
Select *Try or Install Ubuntu Server
Select Language -> Keyboard Style -> DHCP or Static IP configure the network.
Install in progress,
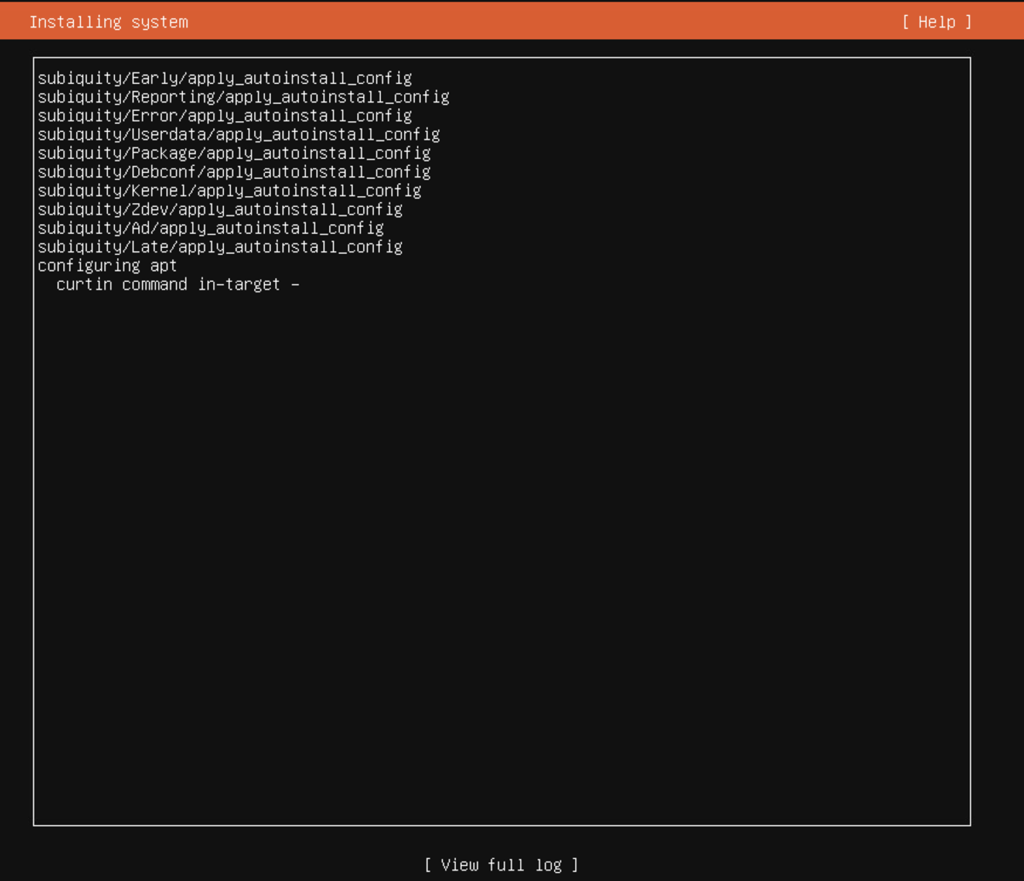
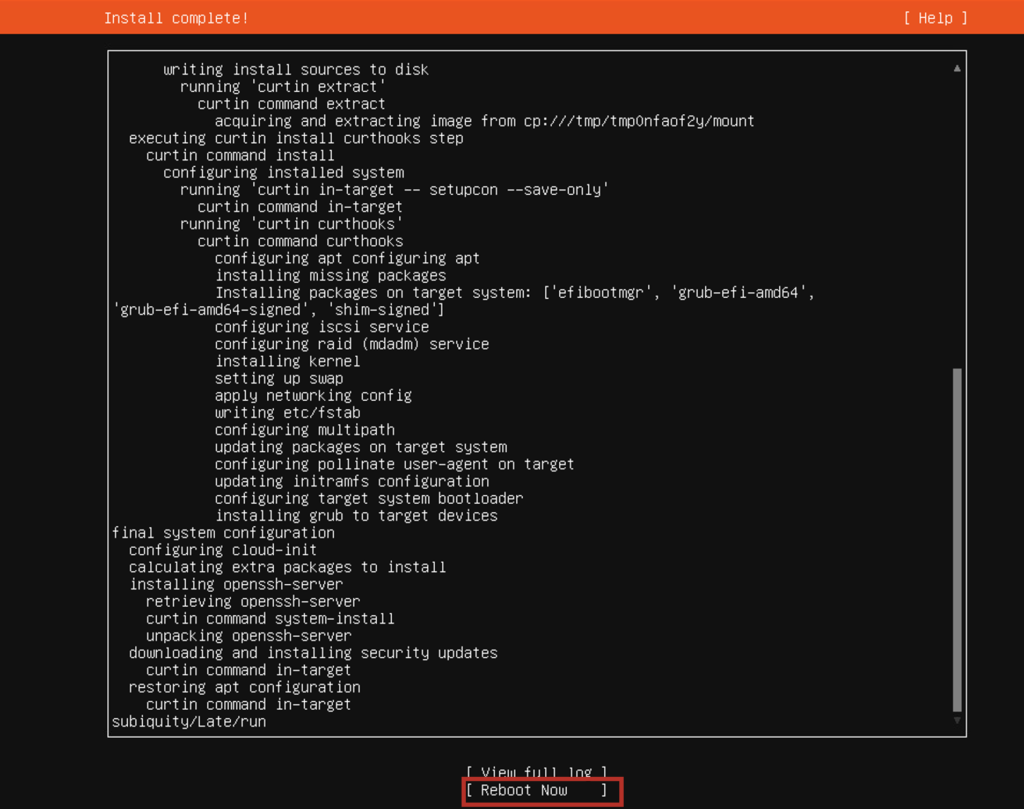
Reboot and disconnect ISO CD/DVD drive we connected in the previous step. You can change it from Datastore ISO to Host Device or uncheck the connected option and reboot the VM. or you will see the below error.

Once the reboot is complete, VM is good to go! Hope this helps.
