
In this article, I’ll walk you through the entire process of upgrading VMware Cloud Director, providing valuable insights and tips along the way. So, let’s dive in and explore how to successfully upgrade VCD while leveraging the power of images to visualize each step.
I am upgrading VCD 10.4.1 to 10.4.2
Step 1 – Preparing for the Upgrade
Before initiating the upgrade process, it’s crucial to thoroughly prepare. This involves reviewing the system requirements, ensuring backups are in place, and validating the compatibility of other integrated solutions. By referring to the provided documentation, I gathered all the necessary information, including prerequisites and compatibility matrices.
Upgrade path and compatibility can be checked here: Link
Step 2: Backing Up VCD
To ensure a seamless upgrade experience, it’s essential to create backups of your VCD environment. Backups serve as a safety net in case any unexpected issues arise during the upgrade process. I followed the recommended backup procedures, ensuring all critical data was safely stored and readily available for restoration if required.
Note: My failover mode is set to “Manual”
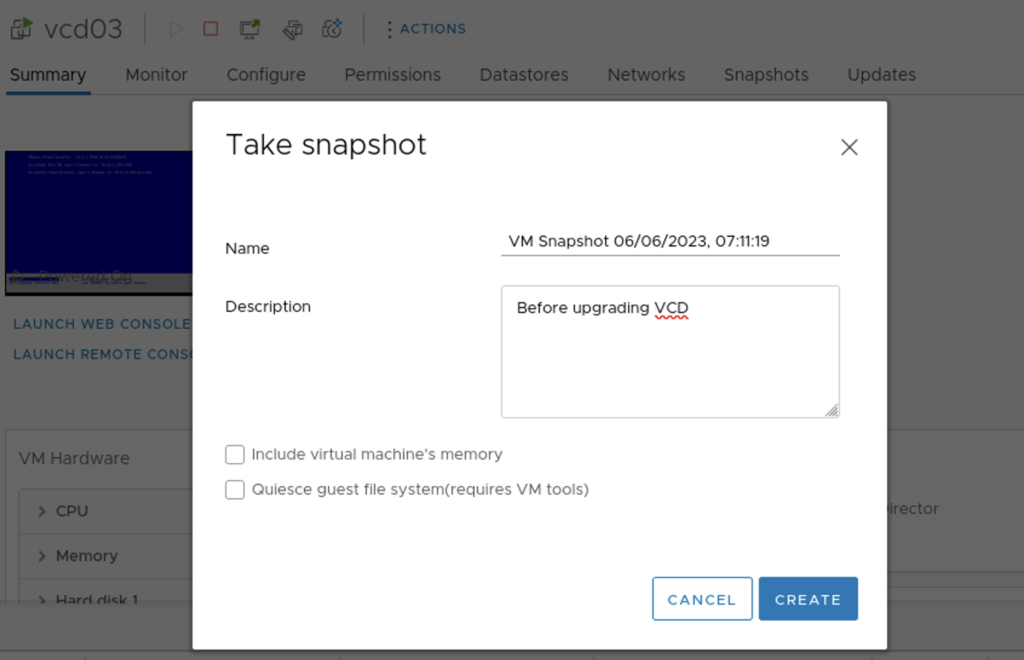
Taking a Snapshot of the primary appliance.
DB backup from Primary cell
/opt/vmware/appliance/bin/create-backup.shStep 3: Downloading the Upgrade Package
Login and Download the Upgrade package from VMware customerconnect : Link
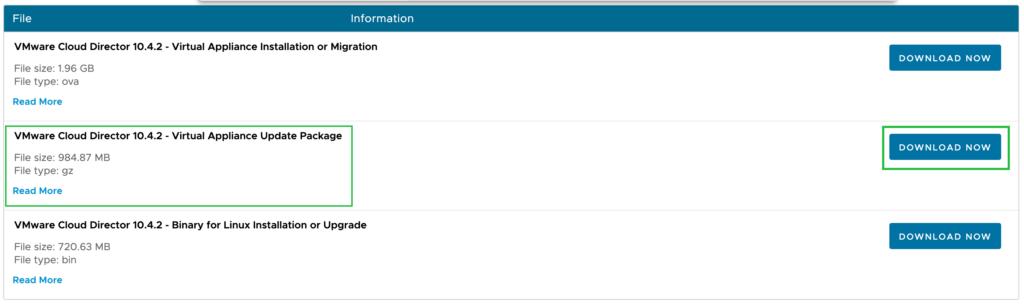
Download and copy it to all your cells, I have copied it under /tmp
Step 4: Applying the Upgrade
Check which node is your primary node, you can do this from VAMI (https://cellip:5480) or from CLI of any cell
cat /opt/vmware/vcloud-director/current-primary-name

or

 cat /opt/vmware/vcloud-director/current-primary-ip-address
Shut down VMware Cloud Director on all the cell, using the below command
/opt/vmware/vcloud-director/bin/cell-management-tool -u <admin_username> cell --shutdownImportant Note: It is important to Upgrade the primary cell first and followed by other cells
a. Create a directory named “local-update-package” to extract the update package.
mkdir /tmp/local-update-packageb. Extract the update package which we downloaded and copied to /tmp in step 3
tar -zxf VMware_Cloud_Director_10.4.2.21596272_update.tar.gz -C /tmp/local-update-packagec. Now Set the local-update-package directory as the update repository for cell
vamicli update --repo file:///tmp/local-update-packaged. Check for updates to verify the repository
vamicli update --check
e. Install the upgrade
vamicli update --install latest
The primary cell has been upgraded!! Now follow the same steps from a to e on other cells.
Step 5: Upgrade Database
Once all the cells are upgraded run the VMware Cloud Director database upgrade utility. You can run the below command on any of the cells.
/opt/vmware/vcloud-director/bin/upgrade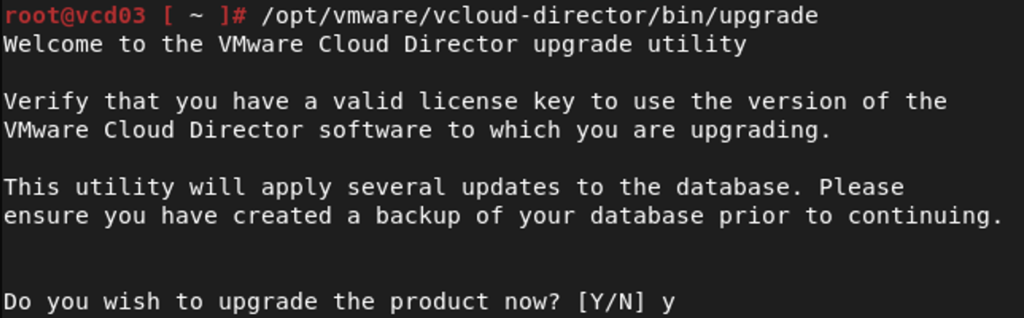
Step 6: Post Upgrade
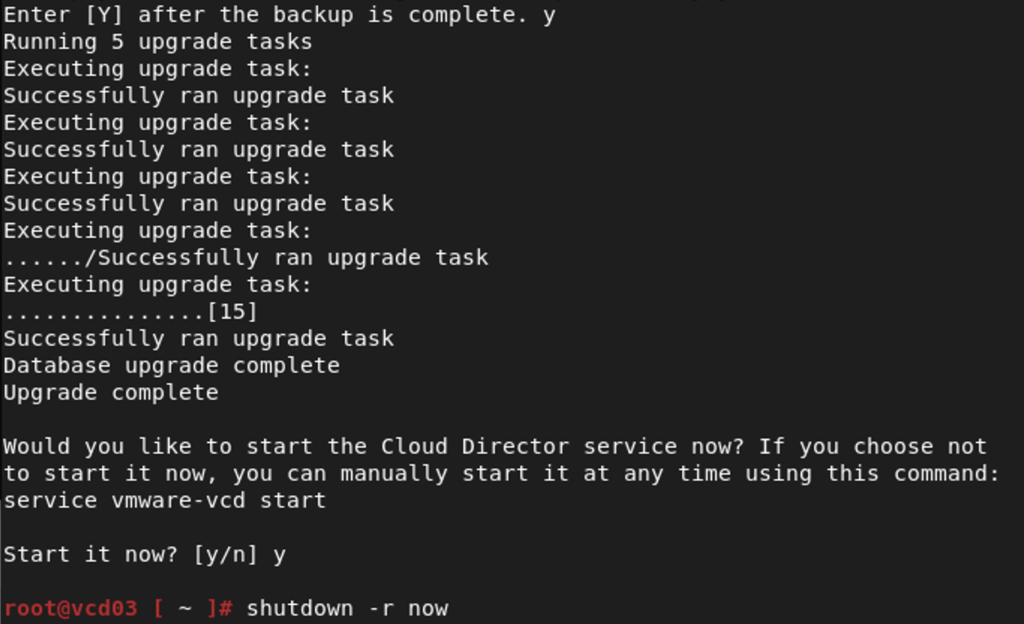
Once the Database upgrade is completed, reboot all the cells
shutdown -r nowTo check the cell service you can tail the cell.log
tail -f /opt/vmware/vcloud-director/logs/cell.log
Once the cell startup is complete, you can log in on your VCD UI and check “About”

Hope this helps!
Check out more VCD posts here!