
Step 4 – Deploying VMware Chargeback
- Log in to the vCenter.
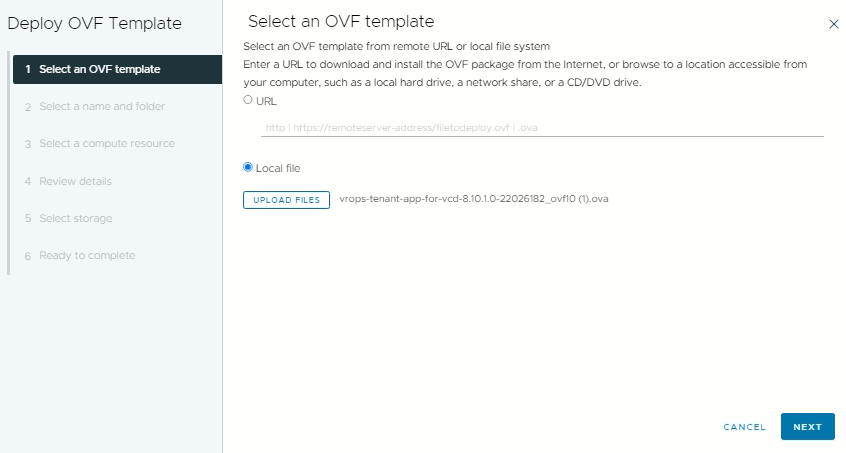
- Deploy the Chargeback OVA, specifying configuration details during the deployment. Can be downloaded from VMware Marketplace
- Configure network settings and ensure proper connectivity.
Note: Use IP and not FQDN while deploying
Power on the Chargeback VM once it has been deployed

Step 5 – Login and Configure Chargeback
Go to the IP address configured for chargeback https://chargeback-IP
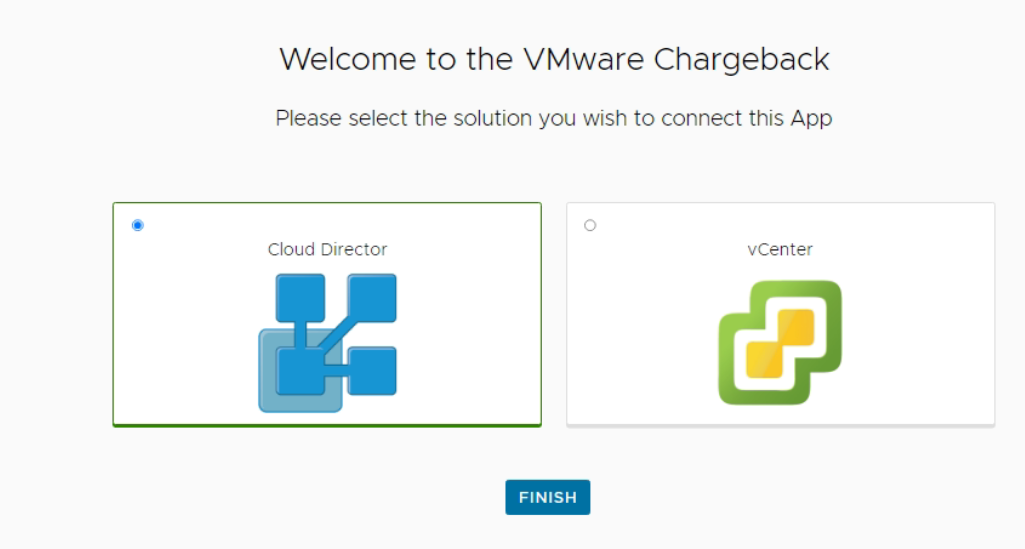
Select vCloud Director and Finish and login with the vRops credentials we set in step2
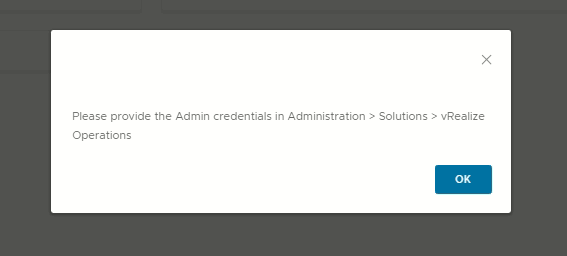
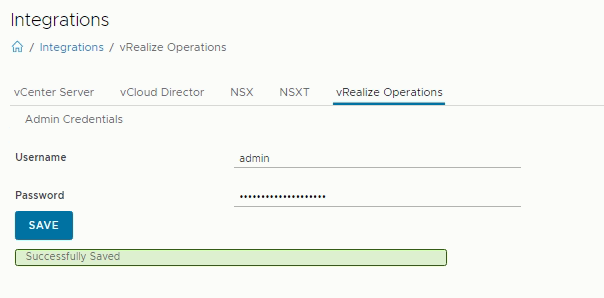
Once you log in you will see a Popup to configure vRealize Operations credentials on Chargeback. Click ok and Navigate to Admin Setting -> Integrations -> vRealize Operations
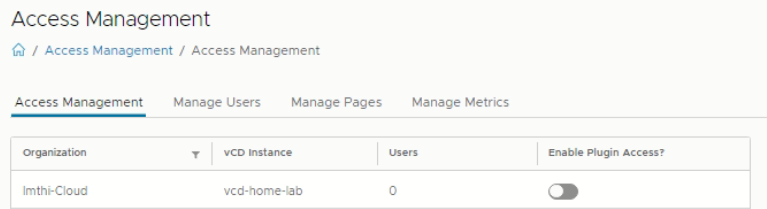
Now go to Admin Setting -> Access Management and Enable Plugin access for your ORG. You can also create a local user for a ORG from Manager Users Tab
Step 6 – Configure VCD Tenant UI
Admin Setting -> Support
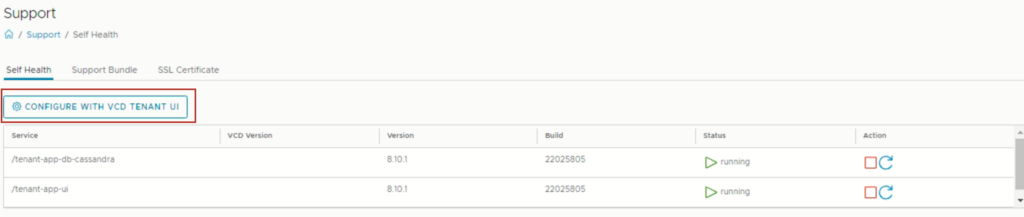
Do and Test connection -> Accept the certificate and Start this will register the plugin.

Now Login to VCD provider -> Customize Portal -> Publish the Operations Plugin for all the tenants or the tenant you wish to.
Now you can log in to VCD from the tenant portal More -> and click Operations Manager
https://VCD/tenant/ORG-NAME
Hope this helps in configuring your Chargeback!
Cheers.