
With Webmin’s Bind9 module, you can easily configure and maintain your DNS settings, making the process efficient and user-friendly. Explore additional features within Webmin to enhance your DNS server administration experience. In this guide, I’ll walk through the process of creating a DNS server using Bind9 on Ubuntu, complemented by the user-friendly Webmin interface for streamlined management.
Without DNS, it would not be possible to construct labs in most cases.
Step 1: Installing Ubuntu
Start by installing Ubuntu. Ensure the system is up to date by running the following commands in the terminal:
If you are new and want steps in deploying a Ubuntu VM you can follow my post: How to deploy Ubuntu VM on ESXi/vCenter
sudo apt update
sudo apt upgrade
Step 2: Installing Webmin
Once Ubuntu is installed and updated, proceed to install Webmin.
Add the Webmin repository
sudo vi /etc/apt/sources.listAdd the below line
deb [trusted=yes] http://download.webmin.com/download/repository sarge contribSave and Exit the editor. Use ESC and type :wq hit enter
Let’s install the Webmin now
sudo apt update
sudo apt install webmin
By default webmin uses port 10000, open it on your FW if you have rules. Updating the Ubuntu FW to allow access to port 10000 and DNS.
sudo ufw allow 10000
sudo ufw allow 53/tcp
sudo ufw allow 53/udp
Now go to your browser https://IP:10000
Accept the cert warning, you can avoid this by installing an SSL cert.
Use your Ubuntu root credential to login
Step 3 – Installing Bind9
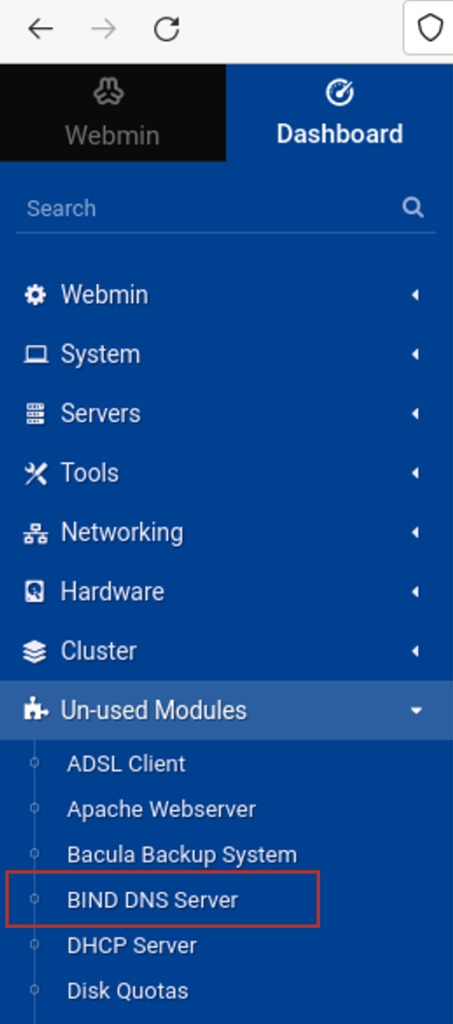
Click Install Now

Once it’s installed return back.
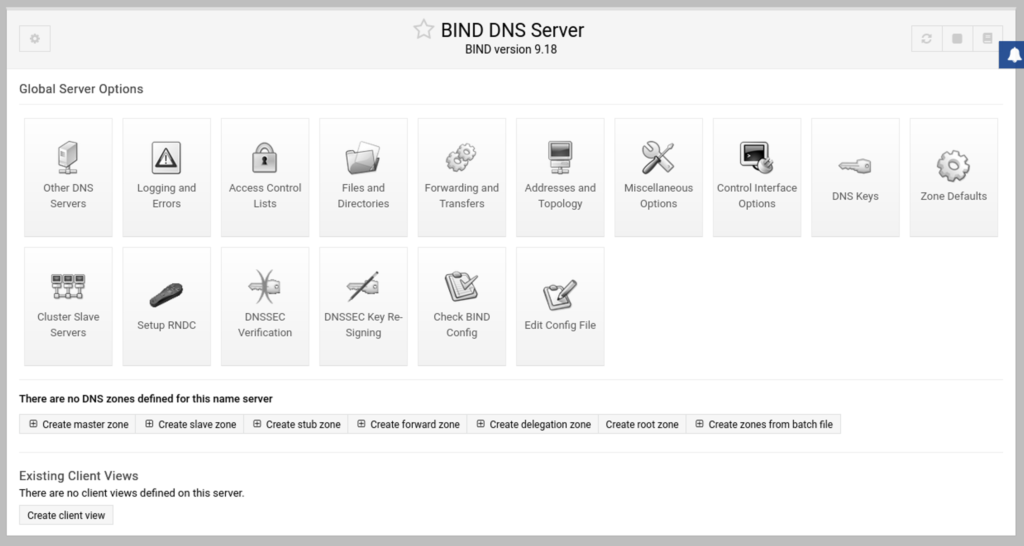
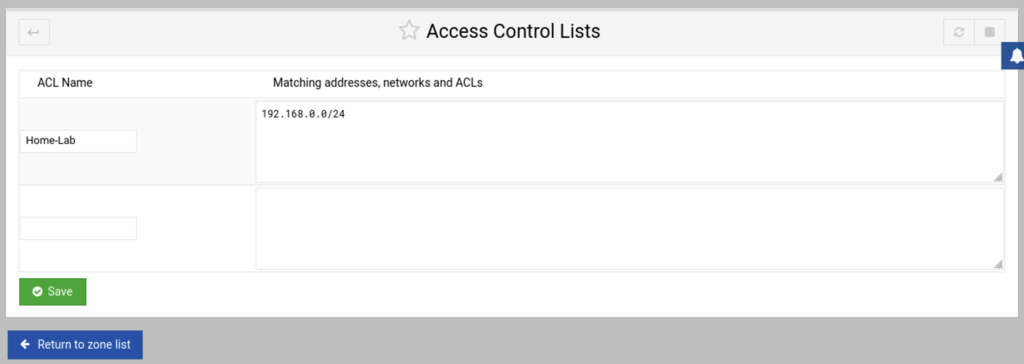
Go to ACL (Access Control Lists), I have added my full local network so all the clients in this network can access the DNS.
You can create your Master Forward and Reverse Zone with your Domain! Don’t forget to click “Apply Configuration” after you add your zones and addresses.
Hope this helps!