
When it comes to deploying vCloud Director Appliance, having a well-configured NFS server is a prerequisite. This post will walk you through the process of setting up an NFS server on CentOS 8 for seamless integration with vCloud Director 10.5.
My LAB
VCF : 5.0
VC: 8.0.1
Now, let’s proceed with creating the VM and installation/configuration of the NFS server on CentOS 8
Step 1 – Create VM and Install CentOS 8
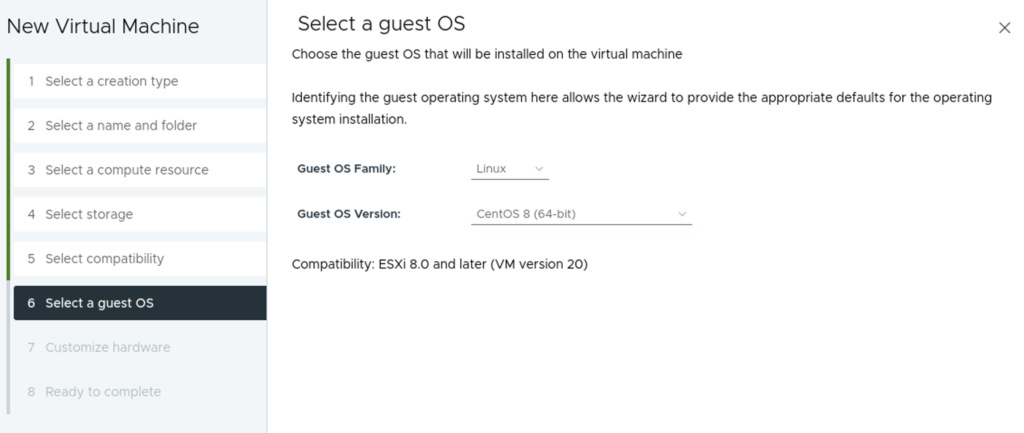
Please note: We have to create 2 disks. 1 for boot and another for NFS Share

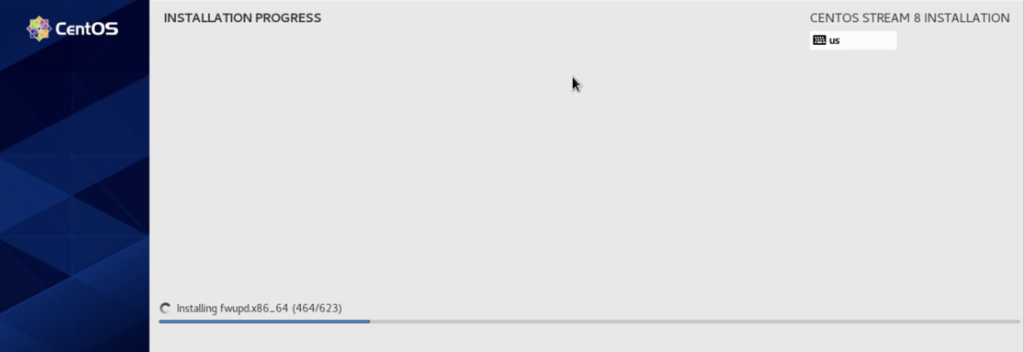
Power on the VM and continue the installation process
Step 2 – Installing NFS dependencies
nfs-utils provides the necessary utilities for NFS (Network File System) configuration and management.
yum install nfs-utilsReload the daemon once nfs-utils installation is complete.
systemctl daemon-reloadEnable the nfs-server to start the service automatically at boot and immediately start it.
systemctl enable --now nfs-serverCheck the nfs-server status
systemctl status nfs-server
Step 3 – Configure NFS server
Disk configuration
On my NFS server, the newly 2nd disk is labeled as “/dev/sdb.” If you are uncertain about the disk label on your server, you can run the following command to identify it:
fdisk -lCheck PV, Shows details about the physical volumes, including size and usage. For now, you will be able to see only the boot disk.
pvdisplay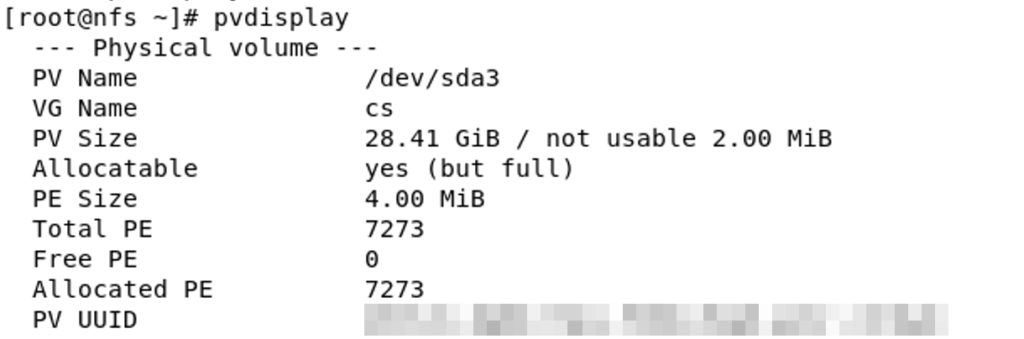
Let’s create the physical volume
pvcreate /dev/sbdMy Output
[root@nfs ~]# pvdisplay
  --- Physical volume ---
  PV Name               /dev/sda3
  VG Name               cs
  PV Size               28.41 GiB / not usable 2.00 MiB
  Allocatable           yes (but full)
  PE Size               4.00 MiB
  Total PE              7273
  Free PE               0
  Allocated PE          7273
  PV UUID               2PVick-8qHO-fXps-FV8N-dVgE

[root@nfs ~]# pvcreate /dev/sdb
  Physical volume "/dev/sdb" successfully created.
[root@nfs ~]# pvdisplay
  --- Physical volume ---
  PV Name               /dev/sda3
  VG Name               cs
  PV Size               28.41 GiB / not usable 2.00 MiB
  Allocatable           yes (but full)
  PE Size               4.00 MiB
  Total PE              7273
  Free PE               0
  Allocated PE          7273
  PV UUID               2PVick-8qHO-fXps-FV8N-dVgE

  "/dev/sdb" is a new physical volume of "500.00 GiB"
  --- NEW Physical volume ---
  PV Name               /dev/sdb
  VG Name
  PV Size               500.00 GiB
  Allocatable           NO
  PE Size               0
  Total PE              0
  Free PE               0
  Allocated PE          0
  PV UUID               h4HRa5-iyEs-XL7a-0LWs-8n2V
Create a volume group named vgdb using /dev/sdb
vgcreate vgdb /dev/sdb
Now create LV & filesystem.
lvcreate -l 100%FREE -n lvdb vgdb
#Creates a logical volume named lvdb with full size of the 2nd disk in the vgdb volume group.
Create an EXT4 file system on /dev/vgdb/lvdb
mkfs.ext4 /dev/vgdb/lvdb

mke2fs 1.45.6 (20-Mar-2020)
Creating filesystem with 131070976 4k blocks and 32768000 inodes
Filesystem UUID: 6c673ef2-af81-4f8e-a27a-72bfb7d29082
Superblock backups stored on blocks:
	32768, 98304, 163840, 229376, 294912, 819200, 884736, 1605632, 2654208,
	4096000, 7962624, 11239424, 20480000, 23887872, 71663616, 78675968,
	102400000

Allocating group tables: done
Writing inode tables: done
Creating journal (262144 blocks): done
Writing superblocks and filesystem accounting information: done
Step- 4 – Configure NFS Share and Exports
Create a Directory to Share Create a directory that you want to share using NFS. You can choose any location that suits your needs. and mount it.
For example:
mkdir -p /nfs-share/vcd_datavi /etc/fstab
/dev/vgdb/lvdb /nfs-share/vcd_data ext4 defaults 0 0mount /dev/mapper/vgdb-lvdb /nfs-share/vcd_dataNow mount
mount -aStep 5 – Configuring exports
Reference: VMware Doc
Edit the /etc/exports file to configure the NFS exports. Add the following line to specify the directory you want to share:
vi /etc/exports/nfs-share/vcd_data vCD_Cell1_IP_Address(rw,sync,no_subtree_check,no_root_squash)
/nfs-share/vcd_data vCD_Cell2_IP_Address(rw,sync,no_subtree_check,no_root_squash)
/nfs-share/vcd_data vCD_Cell3_IP_Address(rw,sync,no_subtree_check,no_root_squash)exportfs -ra
exportfs -vStep 6 – Firewall
I am creating a new zone called nfs and adding my whole subnet.
firewall-cmd --new-zone=nfs --permanent
firewall-cmd --permanent --add-service=nfs --permanent
firewall-cmd --permanent --add-service=mountd --permanent
firewall-cmd --permanent --add-service=rpc-bind --permanent
firewall-cmd --reload
firewall-cmd --zone=nfs --add-source=192.168.0.0/24 --permanent
firewall-cmd --reload
Hope this helps!