In this post, I will show you how to connect to your VMware Cloud on AWS environment via PowerShell. This can be achieved in 3 simple steps
- Generating your Refresh Token
- Installing/Upgrading/Importing Powershell Modules
- Connecting to VM
Let’s start with generating a API Token
Login to your VMC Console https://vmc.vmware.com if you are not already logged in

Go to API Tokens – > Generate a NEW API TOKEN
You can set the Token TTL as much as you like
- Select Organization role and the service role, you can select multiple organization and service roles
- For this we will select VMware Cloud on AWS

Hit Generate, Save your token as this cannot be retrieved again.

Let’s connect to our VMC on AWS through PowerShell
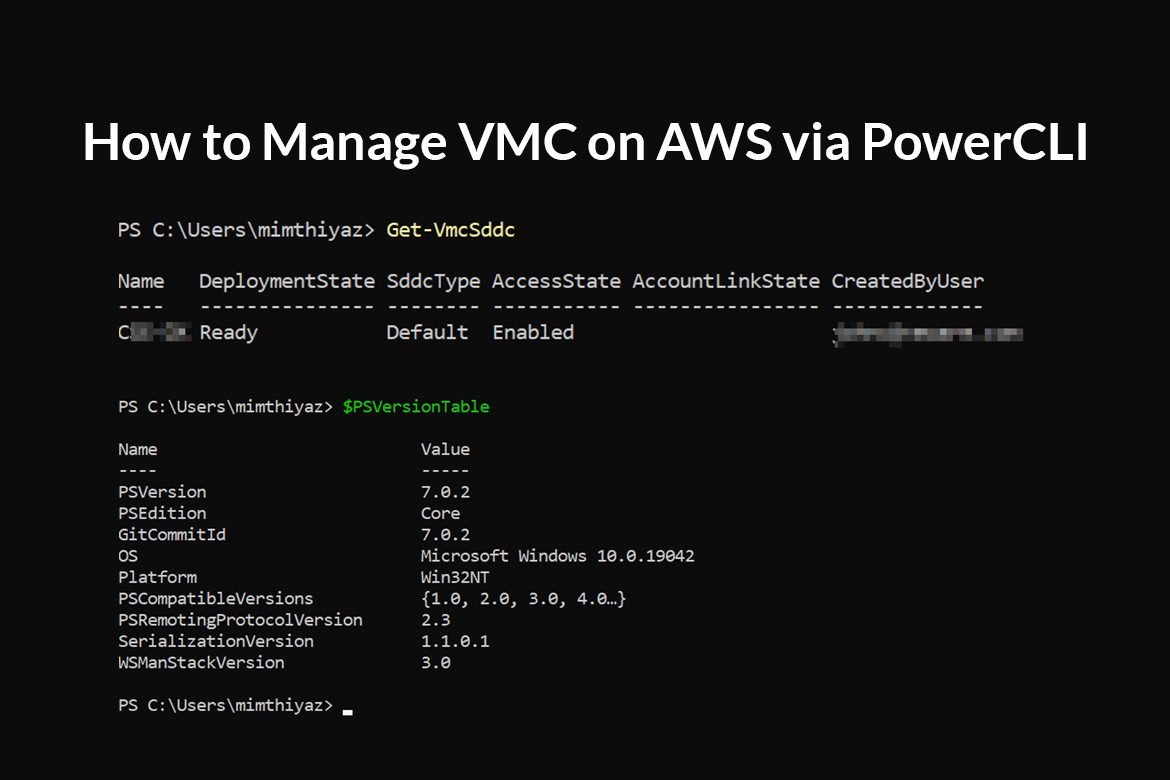
$PSVersionTable

I am on version 7.0.2,
To upgrade your PowerShell to latest version directly from CLI you can use
iex “& { $(irm https://aka.ms/install-powershell.ps1) }” -UseMSI
Run the above command and use GUI to install the latest version of PowerCLI
Install VMC.PowerCLI module if you haven’t already. -Scope CurrentUser will install the module only for the current user
Install-Module -Name VMware.PowerCLI -Scope CurrentUser
CEIP Participation Yes, change $true to $false if you do not want to join CEIP
Set-PowerCLIConfiguration -Scope User -ParticipateInCEIP $true -confirm:$false
Optional, ignore InvalidCertificateAction
Set-PowerCLIConfiguration -InvalidCertificateAction Ignore -Confirm:$false
We are all set to login to VMC via PowerCLI
Connect to your VMC with the refresh token generated in the first part. Open your PowerShell
Connect-Vmc -RefreshToken yourtoken
Or you can set your Refresh Token in new variable by
$refreshtoken = ‘yourtoken’
Connect-Vmc -RefreshToken $refreshtoken
Most of the cmdlets starts with the New/Get/Set/Remove but they also may have additional operations.
The below command will list all the SDDCs you have access to
Get-VmcSddcWhy wait here? Kickstart VMware Cloud on AWS API with PowerCLI
Please add your comments below if you have any queries or feedback regarding the same.

